

Introduction to GraphQL and TypeScript
GraphQL is a query language for your API that allows clients to request exactly the data they need, and nothing more. It is often used as an alternative to REST APIs, which require clients to request fixed sets of data and may return unnecessary data.
TypeScript is a superset of JavaScript that adds static typing to the language. This allows developers to catch type errors before runtime and can also provide better code completion and documentation in IDEs.
In this tutorial, we will be using Node.js as the runtime for our GraphQL server. Node.js is a popular runtime for building back-end applications with JavaScript.
Setting up a GraphQL Server with TypeScript
To get started, we will need to install the required dependencies. We will be using the express and apollo-server-express packages to set up our GraphQL server. We will also need the @types/express and @types/graphql packages to provide TypeScript definitions for these libraries.
To install these dependencies, run the following command:
npm install express apollo-server-express @types/express @types/graphql
Next, let's create a basic GraphQL server using express and apollo-server-express. Create a file called index.ts and add the following code:
import express from 'express';
import { ApolloServer, gql } from 'apollo-server-express';

const app = express();
const typeDefs = gql  type Query {     hello: String   };
const resolvers = {
    Query: {
        hello: () => 'Hello, world!',
    },
};

const server = new ApolloServer({ typeDefs, resolvers });
server.applyMiddleware({ app });
app.listen(4000, () => {
    console.log('Server listening on port 4000');
});
This code sets up an express server and creates a simple GraphQL API with a single hello the field that returns the string "Hello, world!".
To start the server, run the following command:
npm run start
You should see the message "Server listening on port 4000" in the console.
To test the server, open a GraphQL playground by visiting http://localhost:4000/graphql your browser. You should see a screen like this:
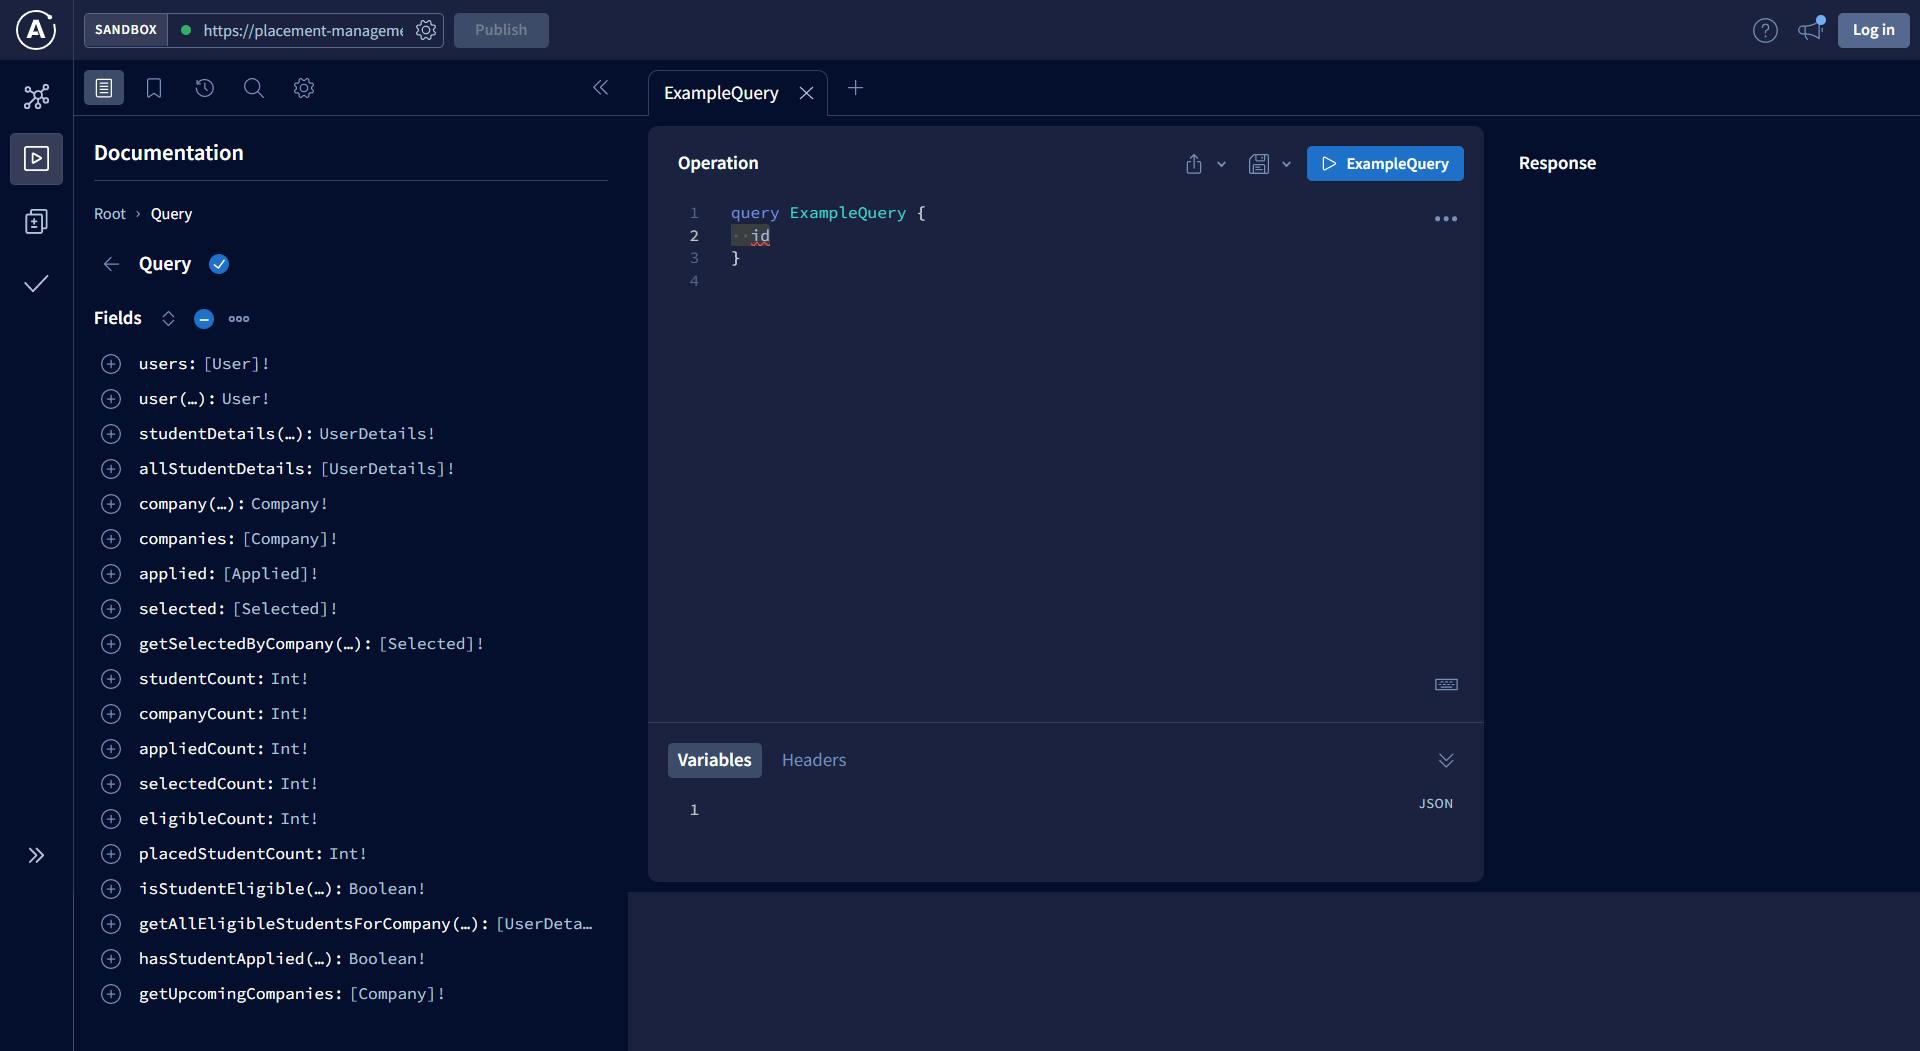
In the left panel, enter the following query:
{
    hello
}
Then press the "Play" button. You should see the following response in the right panel:
{
    "data": {
        "hello": "Hello, world!"
    }
}
Congratulations, you have successfully set up a GraphQL server with TypeScript!
Adding a Database
Now that we have a basic GraphQL server up and running, let's add a database to it. We will use a popular NoSQL database called MongoDB and the mongoose library to interact with it.
To install these dependencies, run the following command:
npm install mongoose
To use MongoDB with our GraphQL server, we will need to create a User model that defines the shape of a user in the database. Create a new file called models/User.ts and add the following code:
import mongoose from 'mongoose';

const UserSchema = new mongoose.Schema({
    username: {
        type: String,
        required: true,
        unique: true,
    },
    password: {
        type: String,
        required: true,
    },
});

const User = mongoose.model('User', UserSchema);
export default User;
This code defines a User model with a username and password field.
Next, we will need to connect to our MongoDB database and create a createUser mutation that allows us to add a new user to the database. Update your index.ts file with the following code:
import express from 'express';
import { ApolloServer, gql } from 'apollo-server-express';
import mongoose from 'mongoose';
import User from './models/User';
const app = express();

const typeDefs = gql`
type User {
    username: String!
    password: String!
}
type Query {
    hello: String
}
type Mutation {
    createUser(username: String!, password: String!): User
}
`;

const resolvers = {
    Query: {
        hello: () => 'Hello, world!',
    },
Mutation: {
    createUser: async (_, { username, password }) => {
        const user = new User({ username, password });
        await user.save();
        return user;
        },
    },
};

const server = new ApolloServer({ typeDefs, resolvers });
server.applyMiddleware({ app });

mongoose.connect(
    'mongodb://localhost:27017/test',
    { useNewUrlParser: true }
);

app.listen(4000, () => {
    console.log('Server listening on port 4000');
});
This code connects to the test database on the default MongoDB port (27017) and defines a createUser mutation that takes a username and password as arguments and saves a new user to the database.
To test the createUser mutation, go back to the GraphQL playground and enter the following mutation:
mutation {
createUser(username: "test", password: "password") {
        username
        password
    }
}
Press the "Play" button and you should see the following response:
{
    "data": {
        "createUser": {
            "username": "test",
            "password": "password"
        }
    }
}
If you check your MongoDB database, you should see a new user with the username "test" and password "password".
Adding Authentication
Now that we have a way to create users, let's add authentication to our GraphQL server. We will use JSON web tokens (JWTs) to authenticate users.
To use JWTs for authentication, we will need to install the jsonwebtoken package and the @types/jsonwebtoken package for TypeScript definitions. Run the following command to install these dependencies:
npm install jsonwebtoken @types/jsonwebtoken
Next, let's update our User model to include a generateAuthToken method that creates a JWT for a user. Add the following code to your models/User.ts file:
import mongoose from 'mongoose';
import jwt from 'jsonwebtoken';
const UserSchema = new mongoose.Schema({
    username: {
        type: String,
        required: true,
        unique: true,
    },
    password: {
        type: String,
        required: true,
    },
});

UserSchema.methods.generateAuthToken = function () {
    const token = jwt.sign({ _id: this._id }, 'secretkey');
    return token;
};

const User = mongoose.model('User', UserSchema);
export default User;
This code defines a generateAuthToken method on the User model that creates a JWT with the user's _id as the payload and a secret key as the signature.
Next, let's create a login mutation that allows a user to log in with their username and password. Update your index.ts file with the following code:
import express from 'express';
import { ApolloServer, gql } from 'apollo-server-express';
import mongoose from 'mongoose';
import jwt from 'jsonwebtoken';
import User from './models/User';
const app = express();

const typeDefs = gql`
type User {
    username: String!
    password: String!
}
type Query {
    hello: String
}
type Mutation {
    createUser(username: String!, password: String!): User
    login(username: String!, password: String!): String
}
`;
const resolvers = {
    Query: {
        hello: () => 'Hello, world!',
    },
    Mutation: {
        createUser: async (, { username, password }) => {
            const user = new User({ username, password });
            await user.save();
            return user;
        },
        login: async (, { username, password }) => {
            const user = await User.findOne({ username });

            if (!user) {
                throw new Error('Invalid username or password');
            }
            if (user.password !== password) {
                throw new Error('Invalid username or password');
            }

            const token = user.generateAuthToken();
            return token;
        },
    },
};
const server = new ApolloServer({ typeDefs, resolvers });
server.applyMiddleware({ app });

mongoose.connect(
    'mongodb://localhost:27017/test',
    { useNewUrlParser: true }
);

app.listen(4000, () => {
console.log('Server listening on port 4000');
});
To test the login mutation, go back to the GraphQL playground, and enter the following mutation:
mutation {
  login(username: "test", password: "password")
}
If the login is successful, you should see a JWT in the response:
{
  "data": {
    "login": "eyJhbGciOiJIUzI1NiIsInR5cCI6IkpXVCJ9.eyJfaWQiOiI1ZTgwZTk3MjMzNTY0MTAwMTFhOGJhM2IiLCJpYXQiOjE1OTIyMzM1NjR9.lVnX1Xp-nxo4-L4Z7gEfhJKj1G4Z2_jKm5-m9qqF5xM"
  }
}
To verify that the JWT is valid, we can decode it using the jwt.verify method. Add the following code to your index.ts file:
jwt.verify(token, 'secretkey', (error, decoded) => {
  if (error) {
    console.log(error);
  } else {
    console.log(decoded);
  }
});
If you run this code with a valid JWT, you should see the decoded payload in the console.
Now that we can authenticate users, let's add a protected route to our GraphQL server that can only be accessed by authenticated users. Update your index.ts file with the following code:
import express from 'express';
import { ApolloServer, gql } from 'apollo-server-express';
import mongoose from 'mongoose';
import jwt from 'jsonwebtoken';
import User from './models/User';
const app = express();

const typeDefs = gql`
type User {
    username: String!
    password: String!
}
type Query {
    hello: String
    protected: String
}
type Mutation {
    createUser(username: String!, password: String!): User
    login(username: String!, password: String!): String
}
`;

const resolvers = {
    Query: {
        hello: () => 'Hello, world!',
        protected: (, __, context) => {
            if (!context.user) {
                throw new Error('Not authenticated');
            }
            return 'This is a protected route';
        },
    },
    Mutation: {
        createUser: async (, { username, password }) => {
            const user = new User({ username, password });
            await user.save();
            return user;
        },
        login: async (_, { username, password }) => {
            const user = await User.findOne({ username });

            if (!user) {
                throw new Error('Invalid username or password');
            }
            if (user.password !== password) {
                throw new Error('Invalid username or password');
            }

            const token = user.generateAuthToken();
            return token
         },
    },
};
const server = new ApolloServer({ typeDefs, resolvers });
server.applyMiddleware({ app });

mongoose.connect(
    'mongodb://localhost:27017/test',
    { useNewUrlParser: true }
);

app.listen(4000, () => {
console.log('Server listening on port 4000');
});
To test the protected route, go back to the GraphQL playground and enter the following query:
query {
  protected
}
You should see the following error in the response:
{
  "errors": [
    {
      "message": "Not authenticated",
      "locations": [
        {
          "line": 2,
          "column": 3
        }
      ],
      "path": [
        "protected"
      ]
    }
  ],
  "data": {
    "protected": null
  }
}
This error is expected because we have not passed an authenticated user to the protected route.
To authenticate the user, we can pass the JWT in the Authorization header of the request. In the GraphQL playground, click on the "HTTP HEADERS" button and enter the following headers:
{
  "Authorization": "eyJhbGciOiJIUzI1NiIsInR5cCI6IkpXVCJ9.eyJfaWQiOiI1ZTgwZTk3MjMzNTY0MTAwMTFhOGJhM2IiLCJpYXQiOjE1OTIyMzM1NjR9.lVnX1Xp-nxo4-L4Z7gEfhJKj1G4Z2_jKm5-m9qqF5xM"
}
Make sure to replace the JWT with a valid JWT that you obtained from the login mutation.
Now, run the protected query again and you should see the following response:
{
  "data": {
    "protected": "This is a protected route"
  }
}
Congratulations, you have successfully added authentication to your GraphQL server with TypeScript!
Conclusion
In this tutorial, we learned how to set up a GraphQL server with TypeScript and Node.js, how to connect to a MongoDB database, and how to add authentication using JWTs. With these skills, you can build powerful GraphQL APIs with TypeScript and Node.js.